
Recovery Factor Calculation for Smart Traders
Master the recovery factor calculation to measure a strategy's resilience. Learn the formula, see DeFi examples, and find top wallets with Wallet Finder.ai.

June 20, 2026


Wallet Finder
March 31, 2026
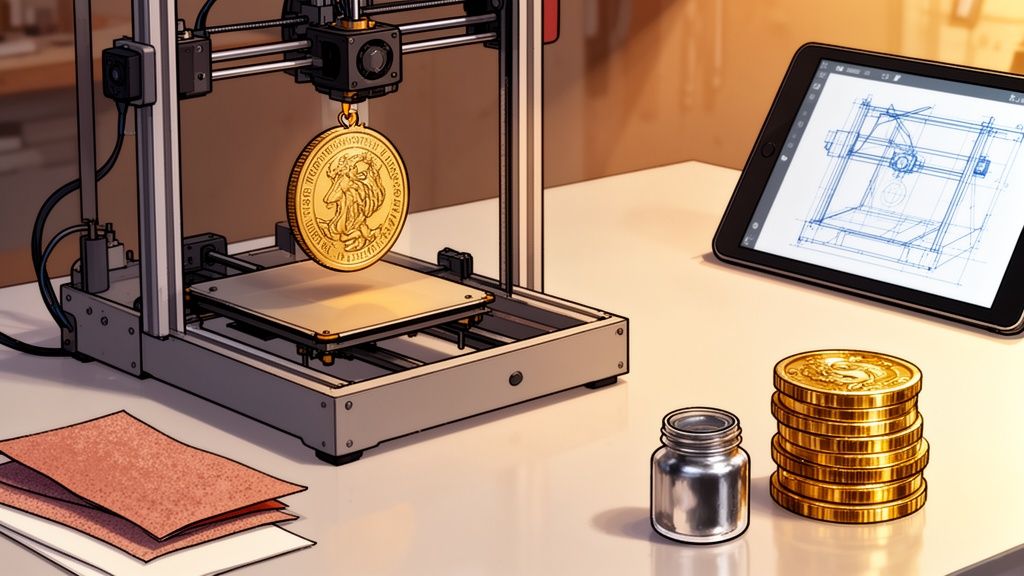
Before you can hold that custom coin in your hand, it first needs to exist as a digital file. This is the blueprint for your 3D printer, and getting it right is the most critical step. You have two main paths: designing the coin from scratch or finding a ready-made model online.
Every great 3D print starts with a solid digital model. Whether you're a seasoned designer or a total newcomer, creating or sourcing your coin model is where the magic begins. The route you take really just depends on your project goals and how much time you want to spend in front of a screen.
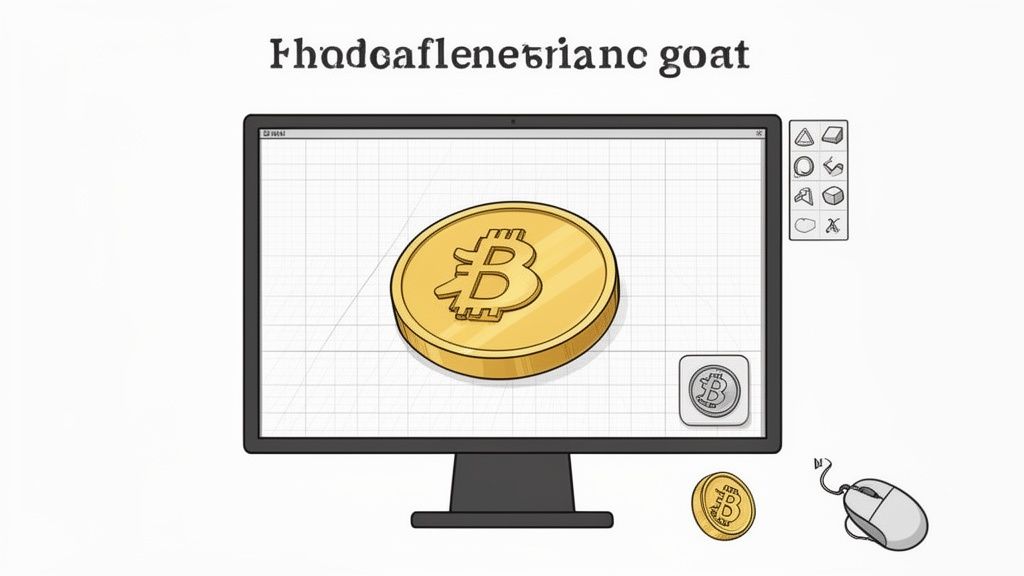
If you’re after a one-of-a-kind piece—maybe a personal challenge coin, a branded token for a new crypto project, or a unique game piece—designing it yourself is the way to go. It’s surprisingly rewarding, and you don’t need to be a CAD wizard to pull it off.
For anyone just getting started, my first recommendation is always Tinkercad. It’s a free, web-based tool that feels more like playing with digital LEGOs than wrestling with complex software. You simply drag, drop, and combine basic shapes to build up your design.
Here's a quick, actionable workflow to create a basic coin in Tinkercad:
Cylinder shape onto the workplane. Set its dimensions to a standard coin size, like 38mm in diameter and 3mm in height.Hole function to subtract it from the center. This leaves a raised rim on both sides..STL file, ready for your slicer.When you're designing, keep these tips in mind for a better final print:
Don't have the time or desire to design your own? No problem. The web is packed with thousands of high-quality, ready-to-print coin models. This is a fantastic way to run a quick test on your printer or find a great starting point for a custom project.
Just remember that not all online files are created equal.
I have a simple rule: always check the comments and "makes" section on a model before downloading. Seeing that other people have successfully printed a file can save you hours of troubleshooting and a spool of wasted filament.
Here are the best places to find ready-to-print coin models:
Look for files described as "manifold" or "watertight." This just means the 3D model is a solid, hole-free object that your slicing software will understand without errors.
Even if you download a model, you can still make it your own. Import the STL file into Tinkercad to add custom text, tweak the size, or mash it up with another design. If you're exploring how to turn digital assets into physical collectibles, our guide on the 3D printed coin shows just how powerful this bridge between worlds can be.
The final look and feel of your custom coin really hinge on the technology you use to bring it to life. This decision boils down to two main camps in the world of 3D printing: FDM (filament) and Resin.
Each has its place, and the best one for you depends entirely on what you're trying to achieve.
FDM printers, the ones that melt spools of plastic filament, are the workhorses of the hobbyist world. They're affordable, easy to get started with, and fantastic for a huge range of projects. But for something as small and detailed as a coin, they have one major drawback: layer lines. Those tiny ridges can easily swallow up the fine text or intricate patterns you worked so hard to design.
This is where resin printers shine. Instead of melting plastic, they use UV light to cure liquid resin layer by microscopic layer. The result? Incredibly sharp details and a surface so smooth it looks almost injection-molded right off the build plate. For a 3D printed coin where every tiny detail matters, resin is almost always the way to go.
| Feature | FDM (Filament) | Resin (SLA/DLP) | Winner for Coins |
|---|---|---|---|
| Detail Quality | Good. Layer lines can obscure fine text. | Excellent. Captures microscopic details with a smooth finish. | Resin |
| Surface Finish | Textured, visible layer lines. | Very smooth, looks injection-molded. | Resin |
| Ease of Use | Simpler, less messy, minimal post-processing. | More involved: washing, curing, and handling chemicals required. | FDM |
| Cost Per Coin | Very Low. A $25 spool can make hundreds of coins. | Higher. A bottle of resin is more expensive and yields fewer prints. | FDM |
| Best For | Prototypes, large game tokens, budget projects. | Final display pieces, challenge coins, jewelry-like items. | Resin |
Ultimately, while an FDM printer can certainly produce a coin, a resin printer is the tool that will deliver the professional-grade quality most people are looking for in this type of project.
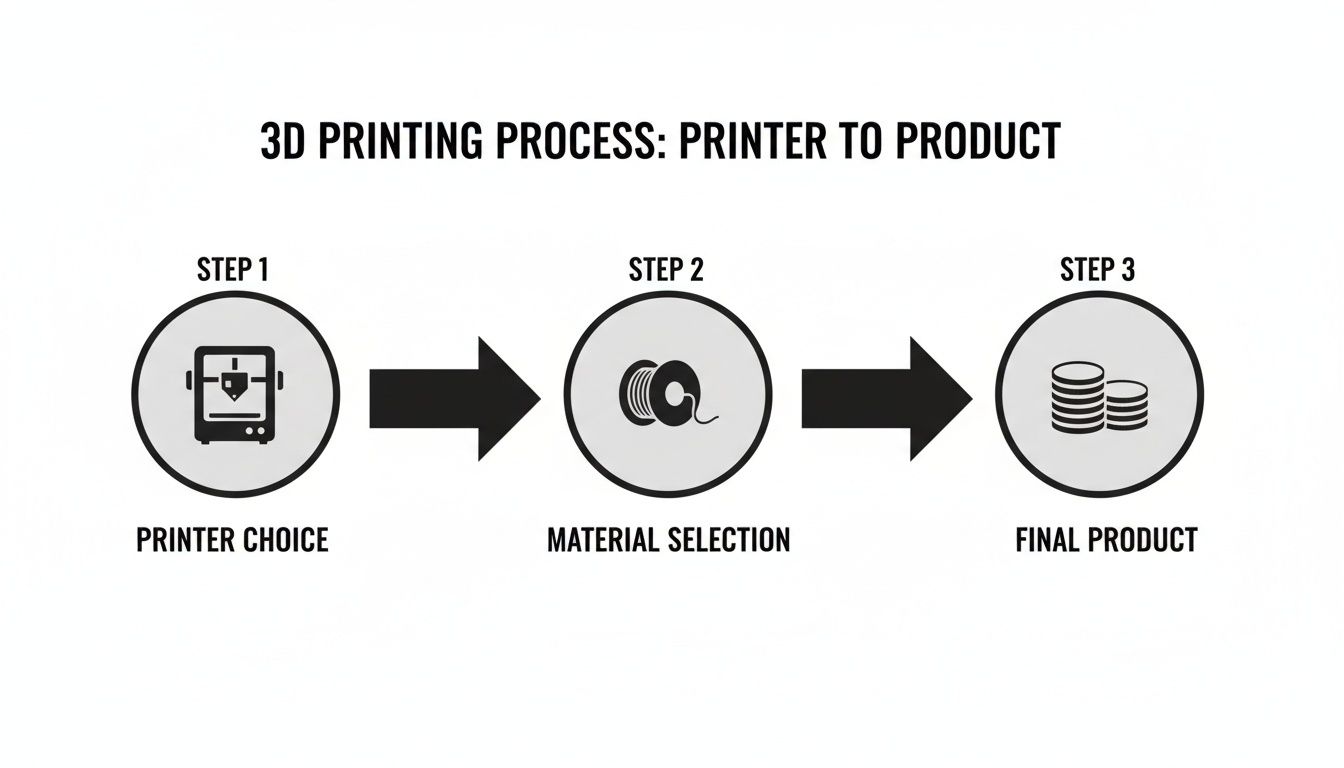
Once you've settled on a printer, your next choice is the material itself. This decision will define the coin's appearance, weight, and durability.
| Printer Type | Recommended Material | Why It's Great for Coins |
|---|---|---|
| FDM | Silk PLA | Offers a high-gloss, metallic sheen straight off the printer with no painting needed. Easy to print. |
| FDM | Standard PLA | Affordable, comes in many colors, and is perfect for prototyping or projects you plan to sand and paint. |
| Resin | ABS-Like Resin | A great all-rounder that balances fine detail with good durability, making the coin less brittle. |
| Resin | 8K / High-Detail | Specifically formulated to capture the absolute sharpest details possible. Ideal for premium display pieces. |
| Resin | Grey Resin | Provides a perfect neutral base color, making it easier to see details and apply metallic paints during post-processing. |
Your slicer software is where the magic really happens. This is the bridge between your digital model and the physical printer, and getting the settings just right is what separates a rough draft from a masterpiece. Programs like Ultimaker Cura for FDM or ChiTuBox for resin are where you turn a generic 3D file into a precise, layer-by-layer game plan for your machine.
A few key settings make all the difference.
When you're dealing with the tiny, intricate details on a coin, your layer height is arguably the most critical setting. A standard 0.2mm layer height might be fine for larger models, but on a coin, it will produce visible ridges that completely wash out fine text and textures.
Next up is print orientation. It's tempting to just print the coin flat on the build plate—it's fast, after all. But this almost always gives you the worst results. While the top surface might look decent, the bottom layer inevitably gets squished and loses all its fine detail.
Here's my go-to trick: orient the coin at a slight angle, somewhere between 15 and 45 degrees. This simple tweak accomplishes two things:
Never trust auto-supports for a project like this. For a 3D printed coin, you have to place them manually. Concentrate them on the back or a less detailed side to avoid marring the "money shot" face of your coin.
This is where you get granular control over every single aspect of the print, from the model's position to its internal structure.
A huge part of a coin's appeal is its "heft." A flimsy, feather-light coin just feels cheap and unsatisfying. You can dial in that satisfying weight with two key settings: wall thickness and infill.
To get that solid, premium feel, start by increasing the wall (or shell) thickness. I find a setting between 1.2mm and 2mm works perfectly. On a standard 0.4mm nozzle, this means using 3 to 5 walls, which adds significant rigidity and prevents the coin from feeling hollow.
Now for infill. While you might think printing at 100% infill is the best way to maximize weight, it's often overkill. It can even introduce printing artifacts from over-extrusion. I’ve found that a high infill of 50% to 70% gives the coin a substantial feel without wasting a ton of material or adding hours to your print time. It’s the perfect balance for an efficient, high-quality 3D printed coin.
The raw print coming off the build plate is really just the starting point. This next part is where the real artistry begins—turning a piece of plastic or resin into something that looks and feels like it was struck from a metal die.
My process starts the moment a print is done. For resin, that means a good bath in isopropyl alcohol (IPA) to wash away any uncured gunk. For FDM, it's just a matter of carefully prying it off the bed. Either way, the next task is removing the supports, and this requires a patient hand.
Grab a quality pair of flush cutters and some tweezers. Gently snip and pull the supports away from the model, not towards it. This little trick helps prevent you from accidentally gouging the detailed surfaces. Trust me, rushing this step is the fastest way to ruin a print you just waited hours for.
With the coin cleaned up, it's time to erase all the tell-tale signs of 3D printing. No matter how fine your layer lines are, they will kill the metallic illusion we're going for. This is where sanding comes in.
Here is an effective sanding progression for a glass-smooth surface:
Wipe the coin with a damp cloth between grits to get rid of dust. A pro-tip for resin prints is wet sanding—adding a drop of water as you sand. It keeps dust down and gives you an incredibly smooth result. The goal is a surface that feels perfectly smooth, with no layer lines in sight.
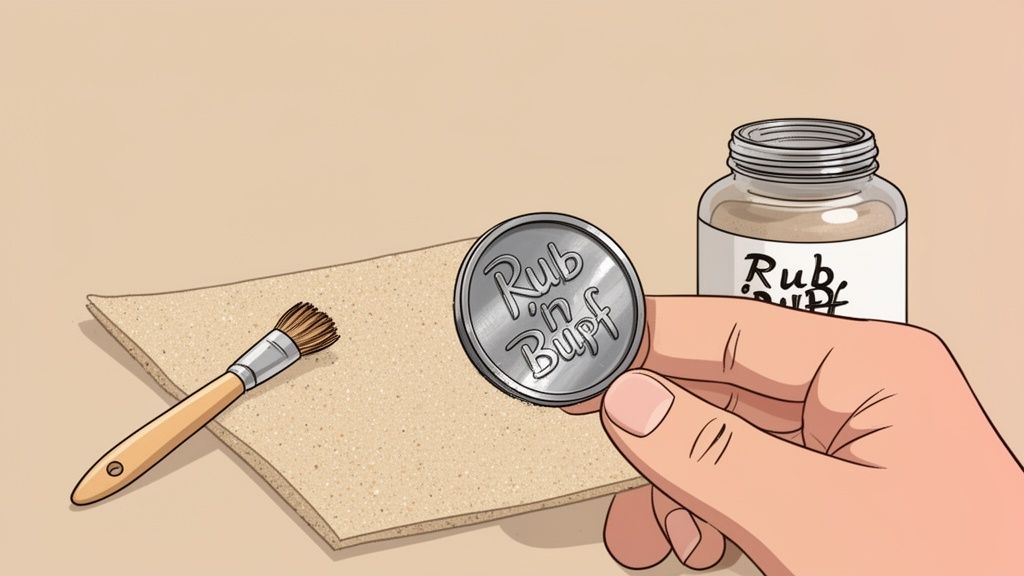
Now for the magic. A convincing paint job is what sells the entire effect. Follow these steps for a result that looks like real metal.
This technique alone will elevate your 3D printed coins to a new level, making them look like they were professionally minted.
A 3D printed coin is more than just a cool project; it’s a peek into a future where digital value takes on a physical form. For crypto fans, this trend is a fascinating one, blurring the lines between the digital and physical economies.
This convergence is happening faster than you might think. Imagine using a tool like Wallet Finder.ai not just to track digital assets, but to pinpoint wallets investing in companies that fuse crypto with physical manufacturing. We're already seeing projects use 3D printing to create tangible NFTs or custom merch for memecoin communities, turning digital clout into something you can actually hold.
These physical tokens aren't just novelties; they’re creating an entirely new class of collectibles. A project can reward its top holders or most active community members with a limited-edition, high-quality 3D printed coin, building a real sense of belonging and exclusivity.
A physical coin can serve a few key purposes:
The innovators building this bridge are creating a completely new asset class and fresh investment opportunities.
The explosive growth in both the 3D printing and crypto markets creates a perfect storm for this trend. Just look at the numbers: the global 3D printing market, valued at $15.39 billion in 2024, is set to skyrocket to $35.79 billion by 2030, all thanks to the demand for custom products.
At the same time, crypto's market cap is projected to hit $11.71 trillion by 2030, with over 420 million global owners back in 2023 alone. You can dive deeper into these market trends with this detailed analysis.
This parallel growth is no accident. As more people pile into the crypto space, the desire for tangible connections to their digital communities and investments naturally grows with it.
A 3D printed coin represents the ultimate fusion of these worlds. It’s a physical manifestation of a digital idea, a collectible born from code and brought to life by filament or resin. It’s not just a token; it’s a story you can hold in your hand.
Because 3D printing technology is so accessible now, anyone with a great idea—from a memecoin creator to a DeFi protocol—can produce high-quality, physical merchandise. This turns every digital project into a potential brand with its own line of tangible collectibles, strengthening the bond with its users and opening up new ways to engage and monetize. The future of digital assets is getting more physical by the day.
As you start making your own custom tokens, you're bound to run into a few questions. It happens to everyone. Here are some of the most frequent ones that land in my inbox, along with the practical, no-fluff answers you need for your own 3D printed coin projects.
If you want that authentic metallic shine straight off the print bed, my go-to is always a silk PLA filament on an FDM printer. It has this incredible natural sheen that does a great job of mimicking polished metal, all without a drop of paint. It’s an easy win for getting a fantastic result with minimal post-processing.
For those using a resin printer to chase those ultra-fine details, the process is a bit different but just as effective. I start with a standard grey resin. Once it's cleaned and cured, I hit it with a high-quality metallic spray paint. The real magic, though, is finishing it with a product like Rub 'n Buff. This combination gives you a stunning, convincingly aged metal finish.
The short answer is, unfortunately, no. Your standard FDM and resin printers simply can't handle pure metal. That requires seriously industrial machines using technologies like Selective Laser Melting (SLM), which cost a small fortune and are way out of reach for a home setup.
However, you can get incredibly close with a technique called "cold casting." This is a cool trick where you mix fine metal powder—like bronze or aluminum—right into your liquid resin before printing. After the print is done, you can polish the surface to reveal a genuine metallic luster that has both the look and the cool touch of real metal.
The legal side of printing replica currency is no joke. Reproducing the designs of national currencies is flat-out illegal in most countries. It’s a line you should never, ever cross, even if it’s just for a hobby project.
Stick to original designs, your own artwork, or models that are explicitly licensed for personal use. Pour your creativity into making fantasy coins, custom game tokens, or unique branded items. The goal is to create an awesome 3D printed coin, not a counterfeit.
Ready to turn on-chain data into actionable insights? Wallet Finder.ai helps you discover profitable wallets and mirror their strategies in real time. Start your 7-day trial today.

A premier DeFi analytics platform empowering traders to discover and analyze profitable blockchain wallets, trades and tokens.

