
Recovery Factor Calculation for Smart Traders
Master the recovery factor calculation to measure a strategy's resilience. Learn the formula, see DeFi examples, and find top wallets with Wallet Finder.ai.

June 20, 2026


Wallet Finder
November 26, 2025
.avif)
Tired of paying $20+ just to move your crypto? You are not alone.
Arbitrum is a Layer 2 network built on Ethereum that speeds up transactions and cuts gas fees by over 90%. It will process transactions on its own chain faster, cheaper, and efficiently instead of clogging the congested Ethereum mainnet.
You'll require an Arbitrum bridge to transfer your assets from Ethereum to Arbitrum. These bridges enable the transfer of tokens between networks to trade, stake, or use dApps without ever incurring Ethereum's price in transactions.
If you're tracking wallet activity or copying smart traders, bridges matter even more. That is where Wallet Finder.ai helps. It lets you monitor cross-chain wallet activity, follow top traders using Arbitrum, and set alerts for any wallet moves worth watching.
Most wallets today are not tied to a single network. If you're using a mobile wallet, self-custody wallet, or even a smart contract wallet, you're already involved in multiple blockchains such as Ethereum, Arbitrum, Solana, Base, and more.
Cross-chain transactions allow you to transfer tokens between those chains and not be limited by just one network. Thus, you can try out new applications, enjoy better rates, avoid high gas fees, and stay flexible with your crypto strategy.
It is useful when you are using a multi-chain non-custodial wallet like Trust Wallet, Taho Wallet, or Atomic Wallet. These are wallets that you can use to manage assets across chains and bridges.
Arbitrum bridges are simple tools that let you transfer crypto between the Ethereum mainnet and the Arbitrum network.
Here is how they work:
● You lock your tokens on Ethereum.
● The bridge mints equivalent tokens on Arbitrum.
● You use those tokens on Arbitrum for lower fees and faster transactions.
● You can send them back to Ethereum when you’re done.
If you already use a popular web3 wallet like MetaMask or a cryptocurrency wallet like Trust Wallet, these bridges allow easy fund transfers without using centralized exchange platforms. Some bridges are fast, others are cheap, and some offer support for different tokens or chains. We’ll cover those options shortly.

Ethereum gas fees can get high very quickly, especially in busy hours. Usually, the fees via Arbitrum bridges for transferring funds are around a dollar or less. Hence, this is a good option for somebody who regularly transacts or manages multiple wallets.
With confirmation times of a few seconds on Arbitrum, a major plus is given to traders who cannot afford delays, even more so in market volatility. It also makes it easier to interact with dApps, even on a mobile-only smart contract wallet.
Arbitrum supports most of the DeFi and NFT dApps you can find on Ethereum. After bridging your tokens, you can use them without high gas fees working against you.
Arbitrum wallet relies on roll-up technology, where transactions are processed off-chain but posted to Ethereum. You still benefit from Ethereum’s security model while enjoying lower fees and better speed. It’s a reliable option for anyone using a self-custody wallet or a multi-chain non-custodial wallet
Using an Arbitrum bridge doesn’t require technical knowledge. You just need the right wallet and a few minutes. Here is how to move your assets from an Ethereum wallet to Arbitrum step by step.
To get started, you need a crypto wallet that works with Ethereum and Arbitrum. MetaMask and Trust Wallet are two of the most popular options. They are secure, user-friendly wallets that support cross-chain activity.
If you are using MetaMask, here is how to add Arbitrum:
● Open MetaMask and click the network dropdown at the top.
● Select "Add Network" and enter these details:
● Save the network and switch to it when needed.
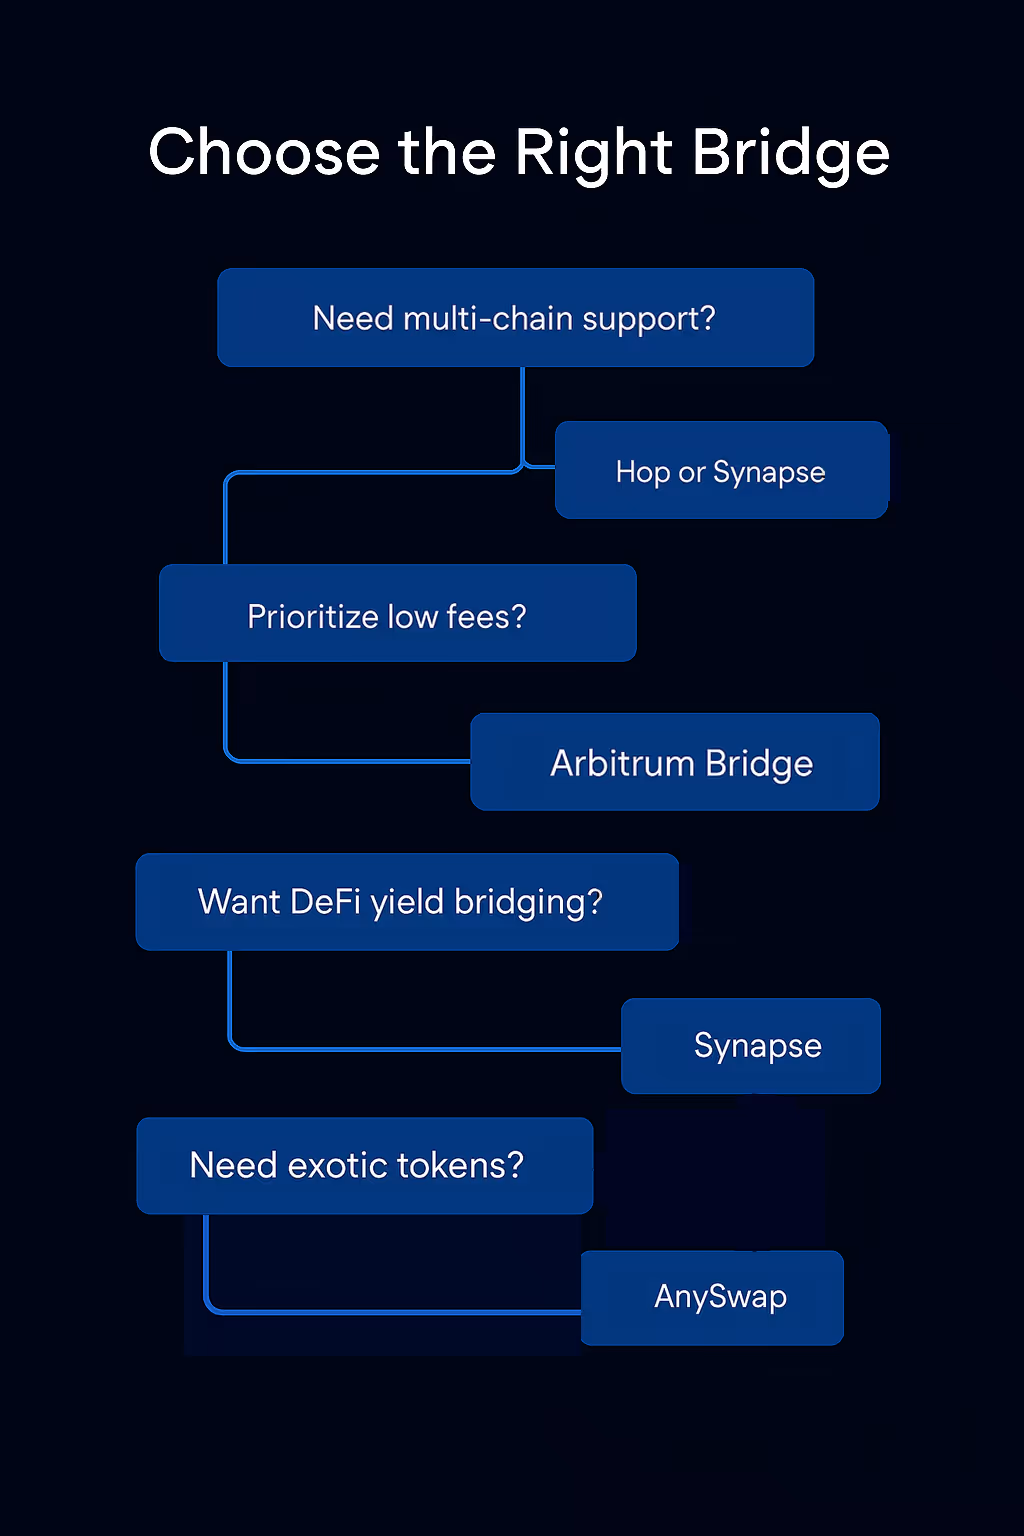
There are a few bridge platforms that connect Ethereum to Arbitrum. Here are four popular options:
● Arbitrum Bridge – This is the official bridge. It is simple and secure for basic ETH transfers.
● Hop Protocol – Fast swap and cross multiple Layer 2-supporting Optimism.
● AnySwap – Most extensive coverage of chains and tokens, and is best for multi-network operations.
● Synapse Protocol – It has deeper liquidity and more token support, mainly focusing on DeFi customers.
Choose a platform based on your needs, whether it is speed, token variety, or low fees.
The next step after selecting your bridge is connecting your wallet. Popular Web3 wallets like MetaMask, Trust Wallet, Atomic Wallet, and others usually do the work for most of these bridges. They are multi-chain non-custodial wallets, which means the user is in possession of their private keys and can switch between networks easily.
Here is what to do:
1. Visit the bridge platform’s website (for example, bridge.arbitrum.io or app.hop.exchange).
2. Click the “Connect Wallet” button.
3. A pop-up will appear from your wallet asking for permission to connect.
4. Select the correct account or wallet address you want to use, then click Confirm.
When you connect, the source wallet will be detected by the bridge of the established network within which it was formed. Be sure to have your wallet on the Ethereum Mainnet when sending funds to Arbitrum or when sending them back, for example.
This step is important because the bridge needs access to initiate the smart contract interaction that locks and mints your tokens. Always double-check that you're on the official site before connecting.
Now it is time to move your funds.
On the bridge, choose Ethereum as your source network and Arbitrum as the destination. Then, proceed to select the token you want to send and enter the amount. Review the fee estimate and confirm the transaction in your wallet.
Here is what’s happening in the background:
The bridge locks your token on Ethereum, then mints the same amount on Arbitrum. It is still your token, but just moved to a faster chain with lower costs.
There are two ways to track everything after the transfer:
● On the bridge site – Most platforms show a status bar or confirmation message once the transaction is complete.
● Using a block explorer – Go to arbiscan.io and paste your wallet address to see the incoming transaction.
After confirmation, switch your wallet to the Arbitrum network, and there you will see your tokens minted and ready to be used in DApps or swap platforms.
Getting funds transferred back to Ethereum from your Arbitrum wallet is pretty much the same process, just the other way around. This is how you can do it safely and correctly using the bridge.
Open your Arbitrum wallet, which may be a MetaMask, a Trust Wallet, or any other Ethereum-based multi-chain wallet.
Make sure it is connected to the Arbitrum network.
Choose the token that you want to transfer—ETH, USDC, or any other supported asset—and check that your wallet address is correct and that you have the available balance. This may be done through a mobile wallet, a smart contract wallet, or any well-known Web3 wallet; just make sure it supports Arbitrum. If you’re looking to expand your holdings without spending extra, our How to Get Free Solana: Airdrops and Giveaways guide shows practical ways to claim Solana tokens through airdrops and other promotions.
Head back to that same bridge platform (Arbitrum Bridge or Synapse Protocol) you used. Now, choose Arbitrum as a source and Ethereum-based as a destination.
Select the token, enter the amount, and approve the transaction on your crypto wallet.
Note: Bridging back from Arbitrum to Ethereum takes longer, up to 7 days using the official Arbitrum Bridge due to its roll-up security model.
If you are using Hop Protocol or Synapse, the wait time is shorter, but check the fees and limits before proceeding.
Once the transaction is submitted:
● You can track it directly on the bridge interface.
● Or use Arbiscan to monitor your transaction by pasting your wallet address.
● After completion, switch your wallet network back to Ethereum.
Ethereum tokens that will be bridged will enter your wallet. If you're using a mobile-only smart contract wallet or an extensive hardware wallet, check if the token is visible; if not, import it by the token contract address.
Transferring back is as simple as long as you follow each step and confirm you’re on the right network at all times.
Not all Arbitrum bridges work the same. Some are best for speed, some for token support, and some are even tailored to multi-chain DeFi users. Here are four trusted options that give export options from Ethereum to Arbitrum:
Arbitrum Bridge is the official bridge developed by the Arbitrum team. It supports native transfers between Ethereum and Arbitrum with a clean and user-friendly interface. Transfers are easy, and fees are lower than gas prices in Ethereum.
● Backed and maintained by the Arbitrum ecosystem
● Secure and decentralized
● Simple UI with minimal steps
● Withdrawals to Ethereum take 7 days
● Supports fewer tokens compared to third-party bridges
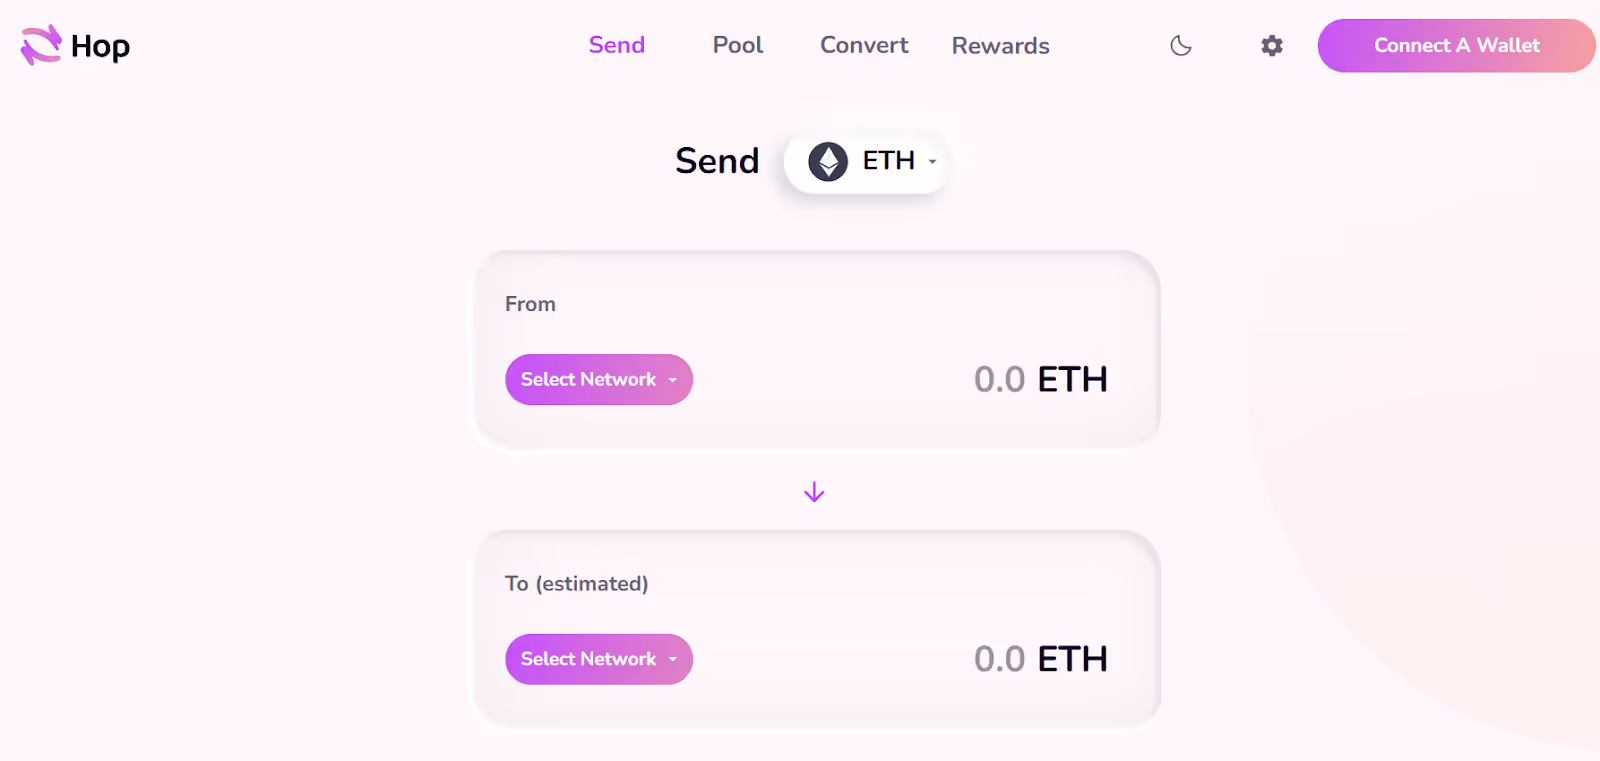
Hop Protocol is designed for quick transfers within Layer 2-enabled networks, such as Arbitrum, Optimism, and Polygon. Withdrawal times are shorter as liquidity pools are used, hence suited for users who would want to have access to their funds quickly. Most major tokens, such as USDC, ETH, and DAI, are supported.
● Fast cross-chain swaps
● Shorter withdrawal times compared to native bridges
● Compatible with multiple Layer 2s
● Limited token variety
● May show slippage during high volume periods
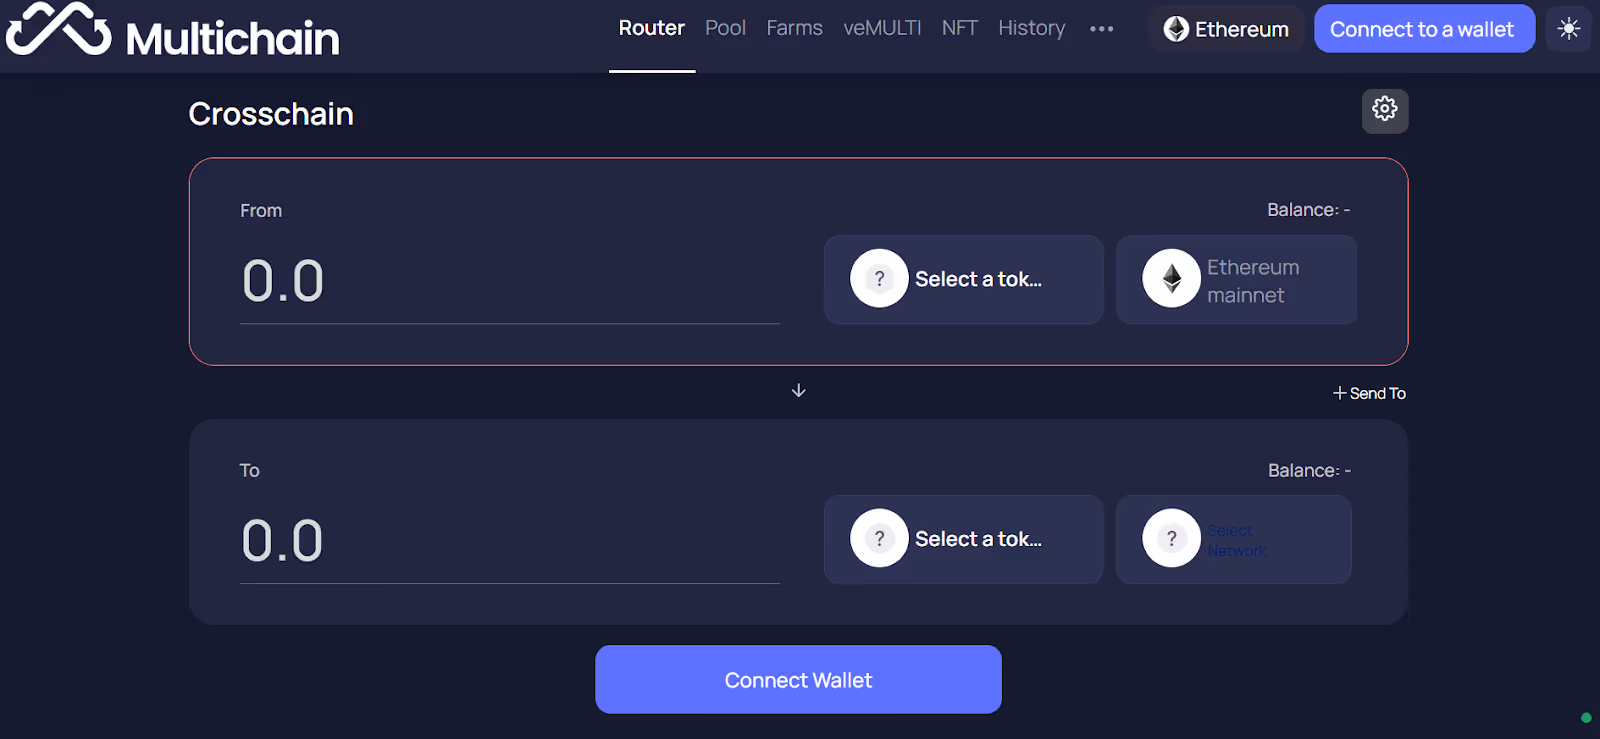
AnySwap (now known as Multichain) supports token swaps across many blockchains, including Arbitrum, Ethereum, BNB Chain, and more. It is flexible, wallet-friendly, and works well with smart contract wallets or Ethereum-based multi-chain wallets.
● Wide range of network support
● Compatible with most wallets (desktop and mobile)
● Good option for regular cross-chain users
● Liquidity can vary depending on the token
● UI can be confusing for newer users
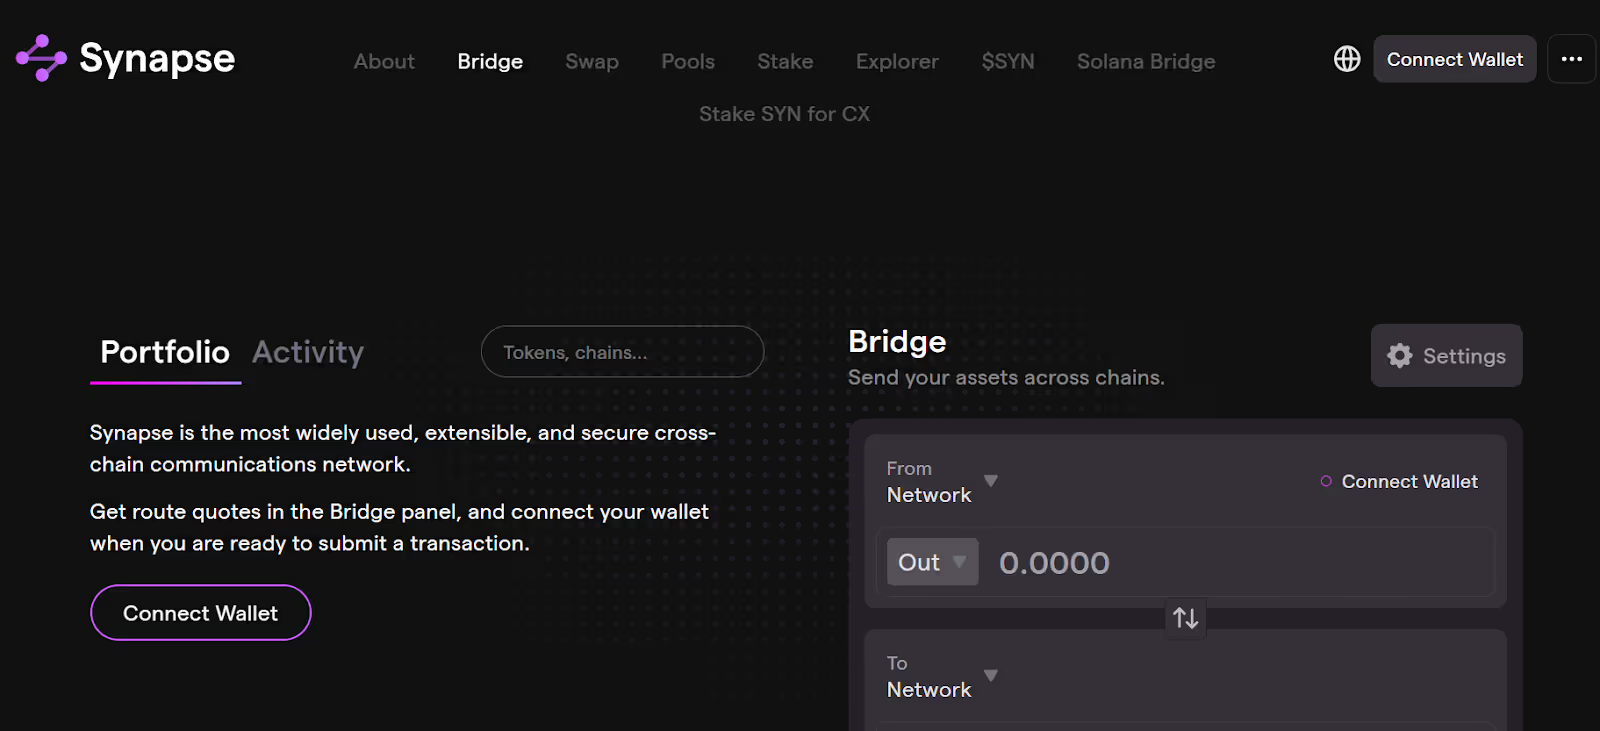
Synapse Protocol is a liquidity-focused bridge that prioritizes liquidity, with multi-chain capabilities for stablecoins, wrapped tokens, and DeFi tokens. It is best suited for experienced traders or those transferring large amounts. The protocol has advanced bridging with token swaps.
● High liquidity for major DeFi assets
● Wide blockchain and token support
● Well-suited for multi-chain DeFi strategies
● Slightly higher bridging fees
● May not be ideal for small transfers
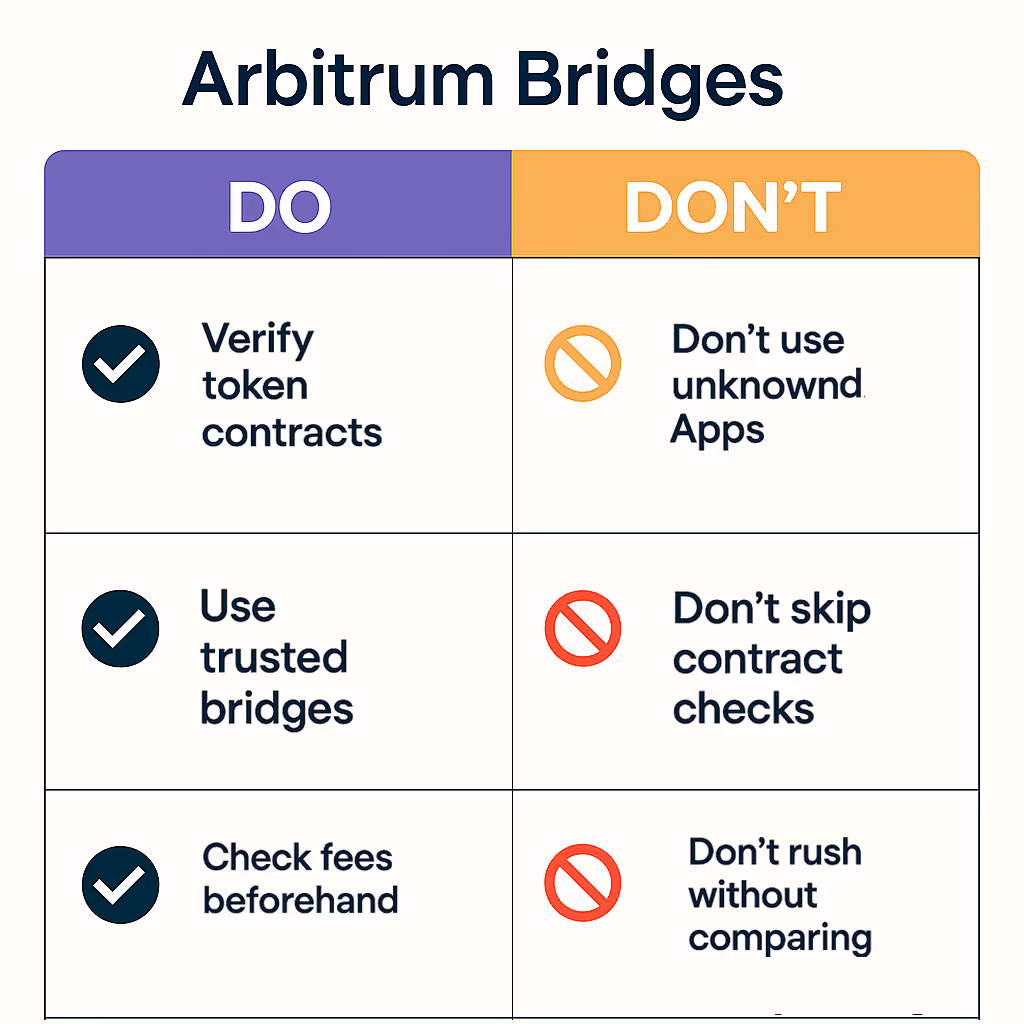
Before moving assets between Ethereum and Arbitrum, it is important to follow a few basic checks. These are small steps to maximize the outcome and avoid costly mistakes
Be sure to bridge the correct version of a token.
Many of the tokens, like USDT or USDC, can be on both Ethereum and Arbitrum, but they will have different contract addresses. Bridging the wrong one may cause it not to appear in your Arbitrum wallet.
Wallet Finder.ai shows what tokens experienced traders are using, and you can double-check against what is working in the market.
Not all bridges charge the same, and fees can add up quickly if you’re bridging often. To stay cost-efficient:
● Compare bridges like Arbitrum Bridge, Hop Protocol, Synapse, or AnySwap
● Review the estimated gas and bridge fees before confirming
● Use Wallet Finder.ai to spot wallets making consistent, low-cost bridges
Tracking what other wallets are doing helps you avoid overpaying.
When bridging, use familiar wallets such as MetaMask, Trust Wallet, or Taho Wallet. They are user-friendly wallets and are widely supported with Arbitrum compatibility. Also, stick to known bridge platforms, and if in doubt, Wallet Finder.ai will show you which platforms active wallets are using the most.
Arbitrum bridges make it easy to move assets between Ethereum and Arbitrum wallets with lower fees, faster speed, and access to DeFi tools. From trading to exploring dApps, bridging helps you do everything more efficiently.
With Wallet Finder.ai, you can track cross-chain wallet activity, follow profitable traders, and stay updated on every move, so you always make smarter decisions when bridging assets.
It is a smart way to take the guesswork out of cross-chain trading.
Try Wallet Finder.ai today to track the wallets that actually move the market.

A premier DeFi analytics platform empowering traders to discover and analyze profitable blockchain wallets, trades and tokens.

