Drawdown Analysis: A Trader's Guide to Crypto Risk
Master drawdown analysis to manage risk and protect capital. This guide explains key metrics, formulas, and how to apply them in DeFi with Wallet Finder.ai.

June 17, 2026


Wallet Finder
June 3, 2026
Your Avalanche trade is moving, the entry looks good, and your funds are still parked on Polygon. That’s one of the most common friction points in active DeFi. The opportunity isn’t blocked by research. It’s blocked by plumbing.
To bridge polygon to avalanche well, you need more than a wallet and a bridge app. You need to know which route fits the asset, what the hidden failure points look like, and when the move makes sense for PnL. The mechanics are easy. The edge comes from doing them with fewer mistakes, lower drag, and better timing.
Before the mechanics, a brief orientation. These two chains have distinct designs, different cost structures, and different reasons why capital moves between them. Understanding that difference helps you know when bridging is the right call and when it is adding friction without adding edge.
Polygon is a Layer 2 scaling solution built alongside Ethereum. Its core advantage is low transaction costs — gas fees measured in fractions of a cent on most days — combined with fast block times and compatibility with any dApp built for the Ethereum Virtual Machine. In 2023 the chain transitioned its native token from MATIC to POL as part of a broader upgrade to its architecture. For traders, Polygon tends to function as a holding and staging environment: a cheap place to park stablecoins, accumulate positions, or run yield strategies while waiting for better entry conditions elsewhere. The ecosystem includes major DeFi protocols like Aave, Uniswap, and Balancer, which makes it a functional home for capital that isn't immediately deployed into higher-risk positions.
Avalanche is a Layer 1 blockchain with a different architecture. Rather than a single chain, it operates across three interconnected components: the X-Chain for asset exchange, the P-Chain for platform coordination and validator management, and the C-Chain — the smart contract layer where DeFi activity lives and where your bridged funds will land. The C-Chain is EVM-compatible, which means any address that works on Polygon or Ethereum will work there without any changes. Avalanche's consensus mechanism prioritizes finality speed — transactions settle in under two seconds under normal conditions — which is part of why it attracts traders who need fast execution and protocols that prioritize time-sensitive operations like perpetual futures and concentrated liquidity.
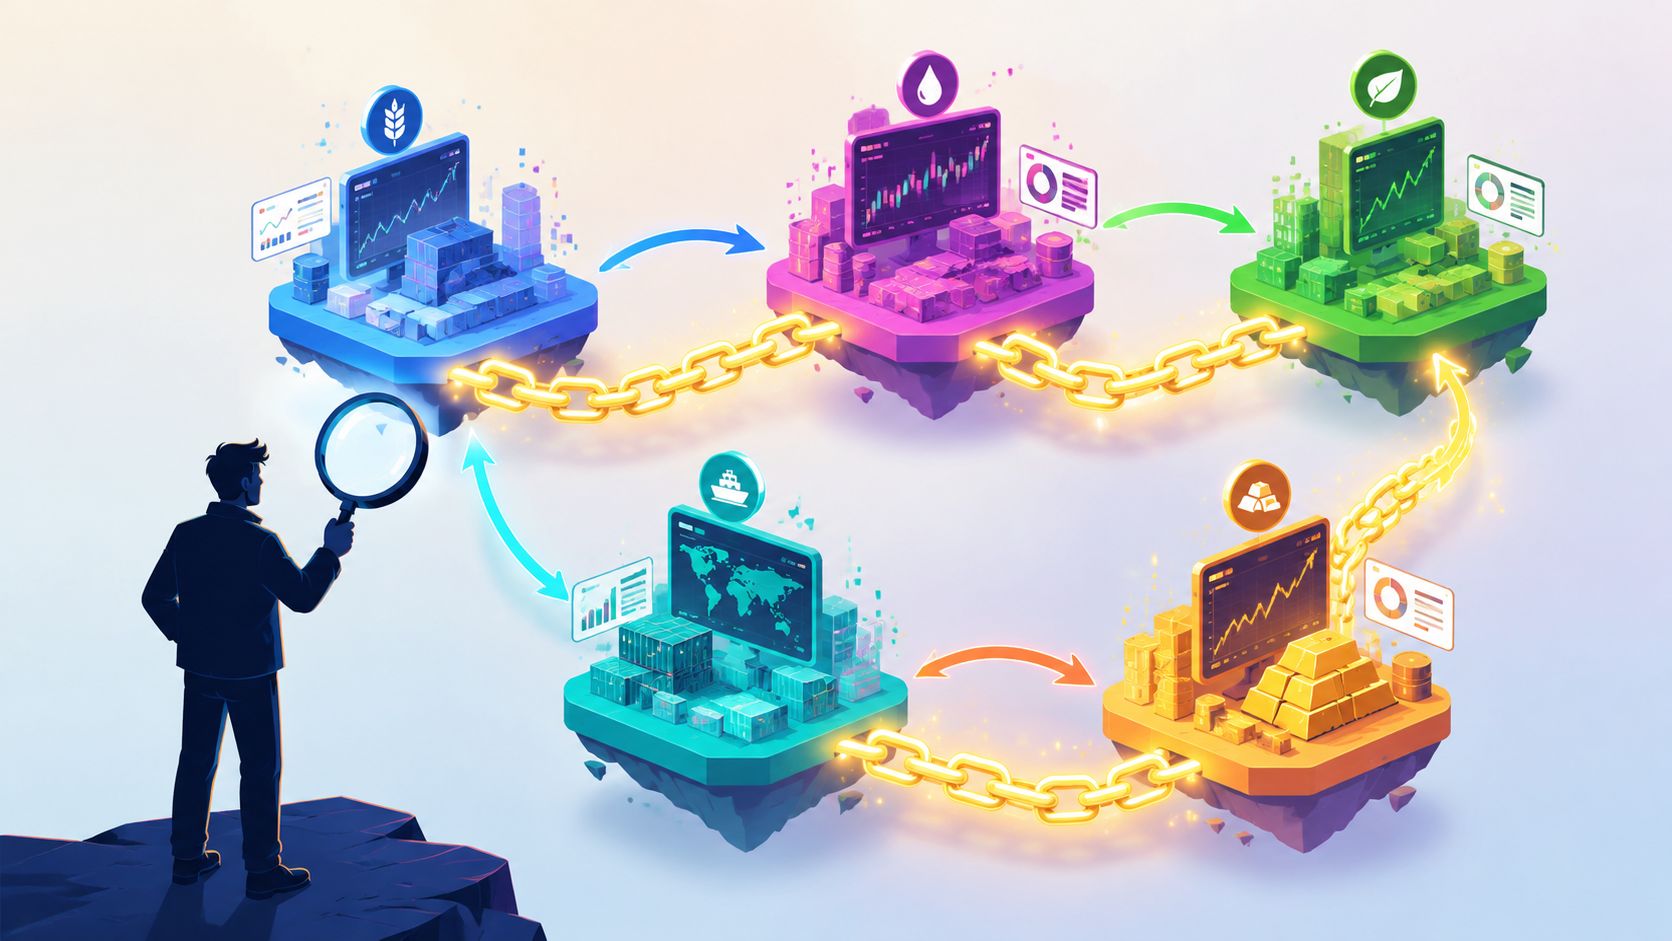
The flow from Polygon to Avalanche happens for specific reasons that are worth naming explicitly because each one implies a different bridging urgency. The most common is opportunity rotation: a protocol or trading pair that isn't available on Polygon, a yield opportunity with better risk-adjusted returns, or a token that exists natively on Avalanche before it is listed elsewhere. A second reason is execution quality — the same token can price differently on the two chains because liquidity depth and local demand vary. A third is following smart money: wallets with documented profitable track records moving capital into Avalanche ahead of a narrative shift is an observable on-chain signal before it shows up in price. Each of these reasons justifies a different level of urgency and therefore a different tolerance for bridge cost and delay, which is why understanding the reason before selecting a route is part of the decision process, not an afterthought.
You spot a setup on Avalanche before the crowd does, but your usable size is still sitting on Polygon. For an active trader, that is not a wallet problem. It is a timing problem.

Bridge only when Avalanche gives you a better trade, a better hedge, or better follow-through on capital. The move needs a reason. Maybe liquidity is cleaner on an AVAX pair, maybe incentives improve net yield, or maybe the wallets you track are rotating there first and you want to follow the flow before pricing adjusts.
For traders, this is a PnL decision first. Every bridge adds drag through gas, bridge fees, waiting time, and potential slippage if you need to swap before or after the transfer. A good transfer increases opportunity more than it increases friction.
The practical reasons usually look like this:
One trade-off gets ignored in beginner guides. Bridging early can improve entry. Bridging too early can leave capital stranded on the wrong chain if the setup fades. I usually want a defined plan before I move size: target protocol, target asset, acceptable slippage, and the amount I am willing to risk on bridge and swap costs combined.
Avalanche tends to make sense when speed of deployment matters and the destination has clear demand. Polygon tends to make sense when you are waiting, farming, or holding dry powder cheaply. The right move depends on where the next dollar of capital is likely to work harder.
A simple filter helps. Bridge from Polygon to Avalanche when you can answer three questions clearly: what trade are you funding, why is Avalanche the better venue, and how much edge remains after fees and slippage. If those answers are weak, keep the funds where they are.
A trader sees a setup on Avalanche, bridges in a rush, and gives back part of the edge before the trade even starts. It usually happens on the route selection, not the entry. Bad bridge choice shows up as wider slippage, worse output token selection, extra swaps after arrival, or capital stuck on a slow path while the market moves.

For active traders, the best bridge is the one that gets the right asset onto Avalanche with the fewest points of failure and the lowest total execution drag. Bridge fee is only one part of that drag. The number to watch is total cost to deploy capital: approval gas, bridge fee, any swap spread before or after the transfer, and the slippage you eat if the route is thin.
A small shortlist is enough for most Polygon to Avalanche transfers. What matters is how each route handles liquidity, token support, and execution visibility at the time you send.
BridgePrimary MechanismTypical SpeedAverage CostBest ForCeler cBridgeLiquidity pools with relayersFast on common routesGas plus relayer fee shown before confirmationStablecoin transfers and simple wallet-to-wallet movesSymbiosisSwap plus bridge routingFast if route liquidity is healthyVaries by token pair and route complexityTraders who want the destination asset delivered in one flowSynapseCross-chain liquidity routingRoute-dependentChanges with pool depth and demandComparing a third path when quotes look uneven
The smart way to choose is to quote the same transfer on at least two bridges before you hit confirm. Check how much of the destination asset you receive, not just the headline fee. A route with a lower listed fee can still be worse if it forces an extra swap on Avalanche or lands you in a weaker wrapper.
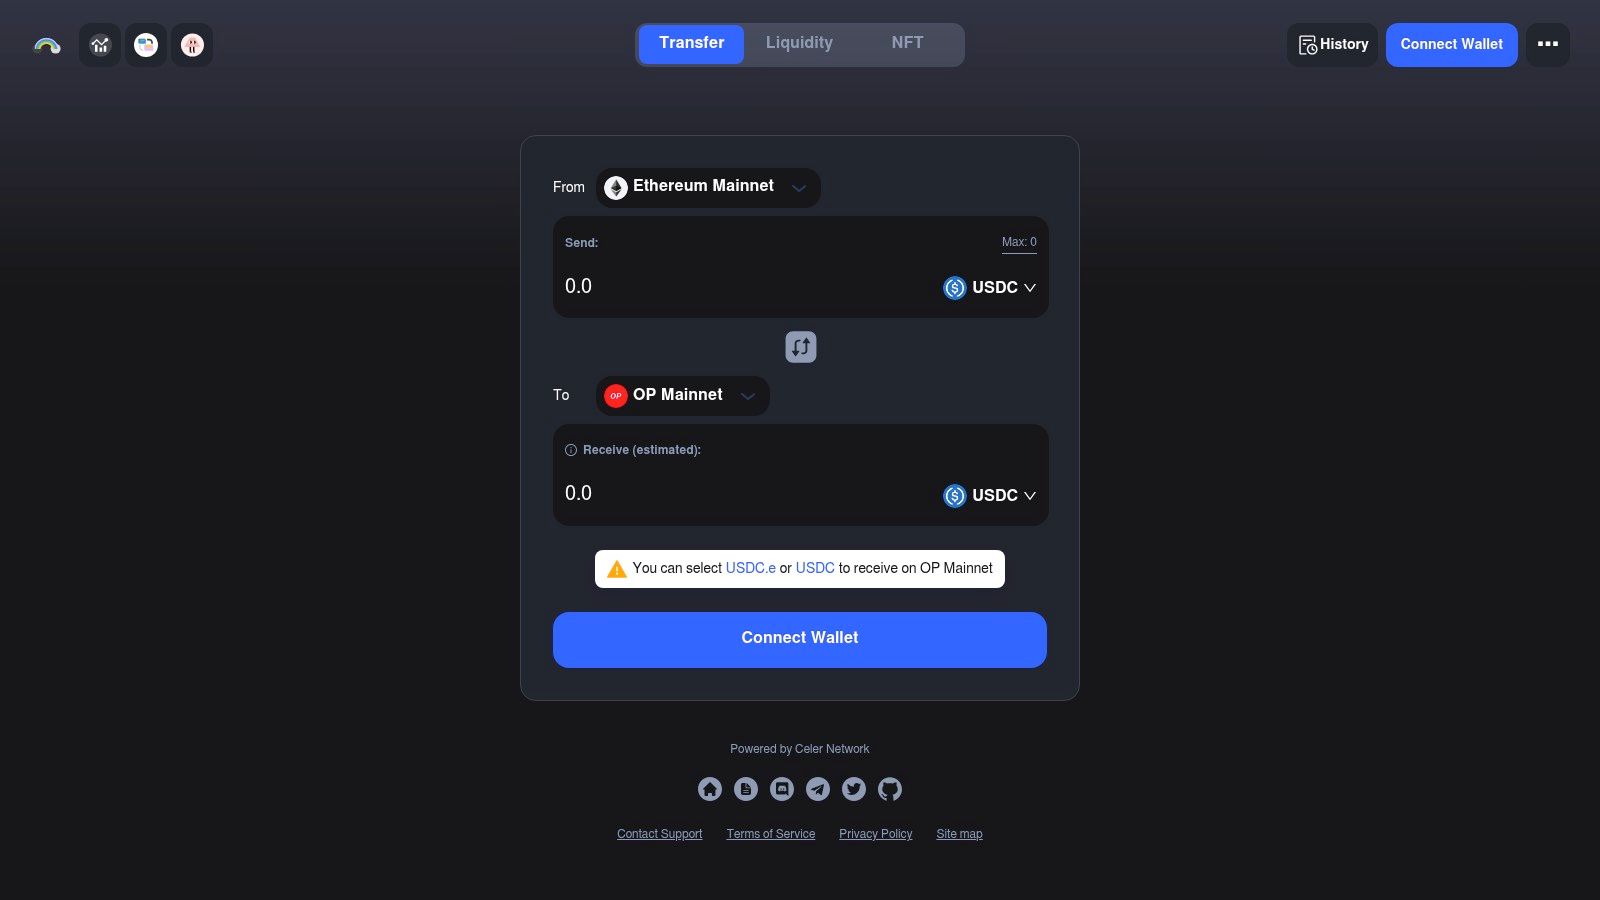
Celer is usually the cleanest option for a first transfer, especially if you are moving USDC or another liquid major. The interface is simple, the steps are easy to verify, and the quote is usually straightforward. If the plan is “get stablecoins onto Avalanche, then trade from there,” this is often the lowest-friction path.
Symbiosis is more useful when asset format matters as much as speed. If you want to arrive in a specific token instead of bridging a stablecoin and swapping later, an aggregated route can save a step and sometimes improve net execution. The trade-off is that more moving parts require more scrutiny. Review the output token, route preview, and minimum received amount before signing anything.
Synapse belongs in the comparison set when the first two quotes look weak or unsupported. I use it as a check on market conditions, not as an automatic first choice. Cross-chain pricing changes fast, and a backup route is useful when one bridge is congested or quoting poorly.
Three filters matter more than brand familiarity:
One more filter matters if you trade off wallet flow. Check whether capital is rotating into Avalanche for a real opportunity or just bouncing between chains. A tool for tracking cross-chain swaps and smart-money wallet movement helps separate broad rotation from random noise.
Quotes age fast. Refresh them right before execution.
Bridge stables first if you are testing a new route. That reduces the chance of landing in an illiquid token or paying for a second mistake on the destination chain.
If size is meaningful, compare the bridge route against a two-step plan. Sometimes bridging USDC and swapping on Avalanche beats an all-in-one route. Sometimes the opposite is true. The right answer depends on current liquidity, the token you want to end up with, and how sensitive your trade is to delay.
For a first Polygon to Avalanche move, pick the route you can verify end to end. For repeat flow, optimize for net PnL, not convenience. That is the difference between bridging funds and deploying capital well.
Your article covers Celer, Symbiosis, and Synapse as the primary bridge options. There is a fourth route that many readers will try first because it lives inside their existing wallet: the MetaMask built-in bridge feature. CoinGecko's bridging guide specifically covers this path, and it appears in enough competitor content that leaving it undiscussed creates a visible gap for readers who are already in MetaMask when they start searching.
MetaMask's bridge works by connecting to external bridge and aggregator providers — in practice it routes through services like LI.FI and similar aggregators behind a simplified interface. The user experience is deliberately stripped back: you select the source chain, the destination chain, the asset, and the amount, and MetaMask fetches quotes from the underlying providers it is connected to. You don't need to navigate to a separate bridge website, connect your wallet again, or manage a second interface. For users who find third-party bridge UIs confusing or who have had bad experiences with unfamiliar interfaces, the embedded approach reduces cognitive load.
The simplicity comes with trade-offs that matter for traders specifically. The route selection is not always optimal — because MetaMask is showing you quotes filtered through its partner network rather than a full market comparison, you may not always see the best available rate across all bridges. The supported assets are more limited than dedicated bridges: at the time of writing MetaMask bridge handles ETH, DAI, USDT, and USDC on its supported chains, which covers the most common stablecoin transfers but excludes most non-major tokens and any custom assets you might need to move.
The practical decision rule is straightforward. If you are moving a major stablecoin — USDC or USDT — and you are already in MetaMask, the built-in bridge is a reasonable first check. Pull the quote, compare it against Celer's quote for the same transfer, and use whichever delivers more of the destination asset to your wallet. If you are moving a less common token, or if the MetaMask quote is noticeably worse on any of the three dimensions that matter — output amount, settlement time, and destination asset format — move to a dedicated bridge for that transfer. The quote comparison takes under two minutes and removes the ambiguity of whether convenience is costing you execution quality. Our cross-chain wallet guide covers how to organize this comparison process when you are managing capital across multiple chains regularly.
Most failed bridge attempts are preventable. The wallet is connected, the token is approved, and then the transfer stalls because something basic was missed. Usually it’s gas, token compatibility, or the destination asset format.
Before you bridge polygon to avalanche, get both sides ready. That means your wallet, your gas tokens, and your expectations about what arrives.
Start with your wallet setup. MetaMask and Rabby both work for this route as long as Polygon and Avalanche C-Chain are added correctly. Don’t wait until the bridge UI asks you to switch networks. Add and verify both first.
Then check native gas balances.
This is the mistake newer traders make most often. They assume that if a token exists on Polygon, it can be bridged directly onto Avalanche in usable form.
That isn’t always true. The verified guidance from Avalanche support states that not all Polygon assets can exist on the Avalanche network, and the official Avalanche Bridge only connects Ethereum and Avalanche, which can force a more expensive two-step path for some assets. That’s why third-party bridges matter here, but it also means you must confirm token compatibility in real time using the bridge you plan to use, as noted in the Avalanche support article on Polygon transfers.
If a bridge doesn’t show your token as a supported destination asset, stop there. Don’t assume another interface will magically make it usable.
On Avalanche, you may receive a token with a slightly different representation than what you held on Polygon. For traders, the key question isn’t whether the symbol looks familiar. It’s whether the specific version is accepted by the dApp you want to use.
Check these before sending size:
If you manage multiple wallets or track strategies across chains, a dedicated cross-chain wallet workflow can make this much easier to keep organized.
For a first transfer, Celer cBridge is a practical route because the UI is clear and the workflow is easy to verify. Keep the first transfer small. Once the asset lands correctly and shows up where you expect, you can send the rest.
The verified route details say a Polygon-to-Avalanche transfer on Celer cBridge typically completes in under 5 minutes for transfers under $10K, with success rates above 98%, and fees that include Polygon gas, Avalanche gas, and the relayer charge surfaced in the quote on the Celer bridge interface for this route.
Use this order. It reduces mistakes.
The main fields aren’t complicated, but traders lose money by rushing them.
Bridge the asset you actually want to deploy, not the asset you happen to be holding. One extra swap on the destination chain can erase the convenience of a fast route.
A walkthrough can help if you want to see the flow before doing it live:
Once the source transaction confirms, grab the transaction hash from your wallet or the bridge UI. Then monitor the transfer status in the bridge dashboard and verify arrival on Avalanche.
Use this quick check sequence:
For active trading, the smartest habit is simple. Don’t queue your next trade until the bridged asset is visible and spendable on Avalanche.
Once the basic transfer is second nature, bridging becomes a timing tool. Good traders don’t just ask, “Can I move funds?” They ask, “Is this the cleanest path into the trade, and is smart money already taking it?”
That’s where route quality, slippage control, and wallet flow analysis start to matter more than the button-clicking.
If your end goal is an Avalanche memecoin or a lower-liquidity DeFi token, don’t always bridge that asset directly. In many cases, it’s cleaner to bridge a liquid stablecoin first, then execute the destination-side trade where you can inspect the pool, the spread, and the exact token contract in real time.
This reduces confusion in two places:
That separation makes debugging easier too. If something goes wrong, you know whether the problem came from the transfer or from the buy.
Advanced bridges can compress several actions into one flow. The verified data for Symbiosis describes a single-transaction liquidity aggregation model that routes Polygon-to-Avalanche transfers through over 50 DEXs to find the best rate. For traders and funds building automation, that matters because it can combine swap and bridge logic into a single execution path, as described on the Symbiosis Avalanche-Polygon bridge page.
That’s especially useful when:
SituationBetter approachYou already hold USDC or USDT on PolygonUse a direct liquid bridge routeYou hold a token that needs conversion anywayConsider an aggregated swap-plus-bridge pathYou’re copying wallet flows across chainsFavor routes with predictable settlement and easy auditability
Cross-chain movement often says something before price does. If strong wallets begin rotating from Polygon to Avalanche, that flow can be part of the signal. It doesn’t prove a trade is good, but it tells you where committed capital is heading.
The verified data tied to Symbiosis also notes that its API can support automated mirroring of top wallets, and that backtests showed 18% average outperformance in 30-day holds for tracking Polygon wallets bridging more than $100K to Avalanche on that source. Treat that as a clue, not a guarantee. What matters in practice is the pattern:
Good wallet tracking doesn’t replace trade selection. It improves entry timing and helps you avoid bridging after the move is already crowded.
These aren’t complicated, but they work.
Even clean routes fail sometimes. Congestion, token display issues, stale approvals, and route-specific liquidity constraints can all interrupt a transfer. That’s not unusual in high-volume bridge environments.
The scale of activity helps explain why. In late 2021, Polygon and Avalanche bridges each held over 30% of Ethereum bridge TVL, with a combined value near $9.73 billion, and Polygon processed 6.82x more transactions than Avalanche according to the earlier-cited Crypto.com bridge market comparison. High usage is good for liquidity. It also means delays and edge-case errors are part of the terrain.
Symptom: You approved and sent the transaction, but the bridge status hasn’t updated.
Likely cause: Source-chain congestion, relayer delay, or a route waiting for confirmation.
What to do:
If the source transaction succeeded but the destination credit is delayed, the bridge UI usually gives better status than your wallet alone.
Symptom: The bridge says complete, but your Avalanche wallet balance looks unchanged.
Likely cause: The token contract isn’t added to your wallet, or you received a different token version than expected.
What to do:
This is a display issue surprisingly often. The funds may already be there.
Symptom: The bridge returns an error or the wallet shows a reverted transaction.
Likely cause: Wrong network, insufficient gas, approval mismatch, or temporary route illiquidity.
What to do next:
For deeper investigation, this breakdown of how to analyze cross-chain bridge transactions is worth bookmarking.
Most bridge problems are solved by checking the transaction hash, the destination token version, and the current route status in that order.
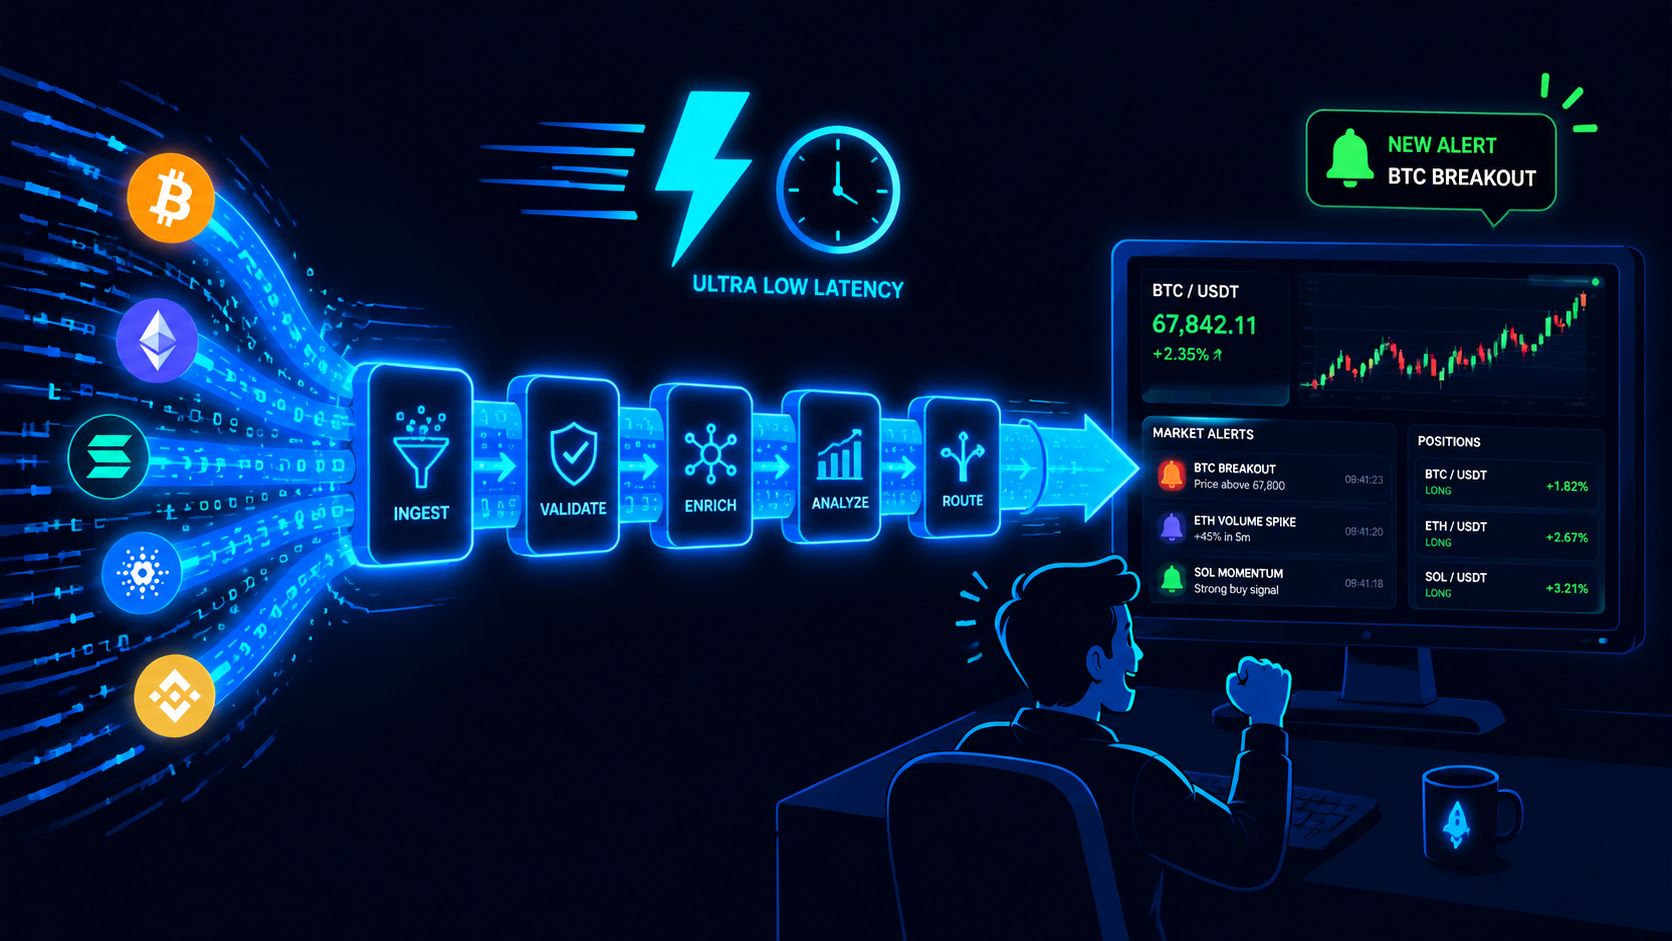
Wallet Finder.ai helps traders turn cross-chain wallet activity into usable signals. You can track profitable wallets, spot when capital rotates between ecosystems, and act faster when the same traders start bridging into new opportunities. If you want that edge, explore Wallet Finder.ai.

A premier DeFi analytics platform empowering traders to discover and analyze profitable blockchain wallets, trades and tokens.