
Recovery Factor Calculation for Smart Traders
Master the recovery factor calculation to measure a strategy's resilience. Learn the formula, see DeFi examples, and find top wallets with Wallet Finder.ai.

June 20, 2026


Wallet Finder
February 6, 2026
Moving your crypto off Coinbase and into your own wallet is a game-changer. It's the moment you shift from simply owning an IOU for your assets on an exchange to taking full control yourself. This is what we call self-custody, and it’s your ticket to the real, on-chain world of crypto.
Look, Coinbase is a fantastic, secure place to get your feet wet and buy your first crypto. But at the end of the day, it operates a bit like a bank. They hold the crypto on your behalf, which is convenient, but it also means you're playing in their sandbox with their rules.
Pulling your assets into a personal wallet is the first real step toward true digital ownership. It’s all about control and direct access. When your crypto is in your own wallet, you are the only one who can sign off on a transaction. This drastically cuts down on counterparty risk—that nagging possibility that an exchange could freeze your account, suffer a hack, or even go bust.
True ownership boils down to one thing: holding your private keys. Your wallet's private key is the master key to your funds. If you don't have it, you don't truly own your crypto. This idea is so fundamental that it's become a mantra in the space: "not your keys, not your crypto."
Taking on this responsibility is incredibly empowering. It insulates you from the meltdowns of centralized companies and throws open the doors to the entire crypto ecosystem. Your personal wallet is your passport to everything from decentralized finance (DeFi) and NFTs to thousands of dApps that you just can't access from your main Coinbase account.
The magic of crypto really happens when you step away from the centralized exchanges. A personal wallet isn't just a digital safe—it's your gateway to participating directly in the on-chain economy, whether that's earning yield in DeFi or scooping up the next hot digital collectible.
Most people make the jump from Coinbase to a wallet because they want to do more than just buy and hold. The rise of specialized wallets proves this point. Take Coinbase Wallet, for example—it now boasts 3.2 million monthly active users who are diving deep into on-chain activities. That group makes up about 37% of Coinbase's total transacting users, a clear signal that people are hungry for DeFi, NFTs, and swaps. You can find more data on this migration to on-chain activity over at sqmagazine.co.uk.
This kind of active participation means you need the right wallet for the job. Here’s a quick breakdown of your main options:
Getting your crypto off Coinbase and into your own wallet is a fundamental skill every serious holder needs to master. Once you get the hang of it, a Coinbase transfer to wallet is pretty simple. The core process is nearly identical whether you're on your computer or your phone.
The whole point is to move your assets from Coinbase's control into a wallet where you—and only you—hold the keys. Let's break down exactly how to do it, starting with the single most important piece of the puzzle: your wallet's receiving address.
Before you even log into Coinbase, the first thing you need to do is grab the destination address from your personal wallet. This could be a hardware wallet, a browser extension, or a mobile app.
Think of this address as your crypto bank account number. This is what you'll give Coinbase to direct the funds. For a deeper dive, our guide on how to find a crypto wallet address covers the process for all major wallet types.
This is non-negotiable: Never, ever type out a wallet address by hand. One slip of the finger and your crypto is gone forever. Always use the copy-paste function or scan the QR code.
The journey from an exchange to your self-custody wallet is what opens the door to the real power of crypto—like DeFi and NFTs.
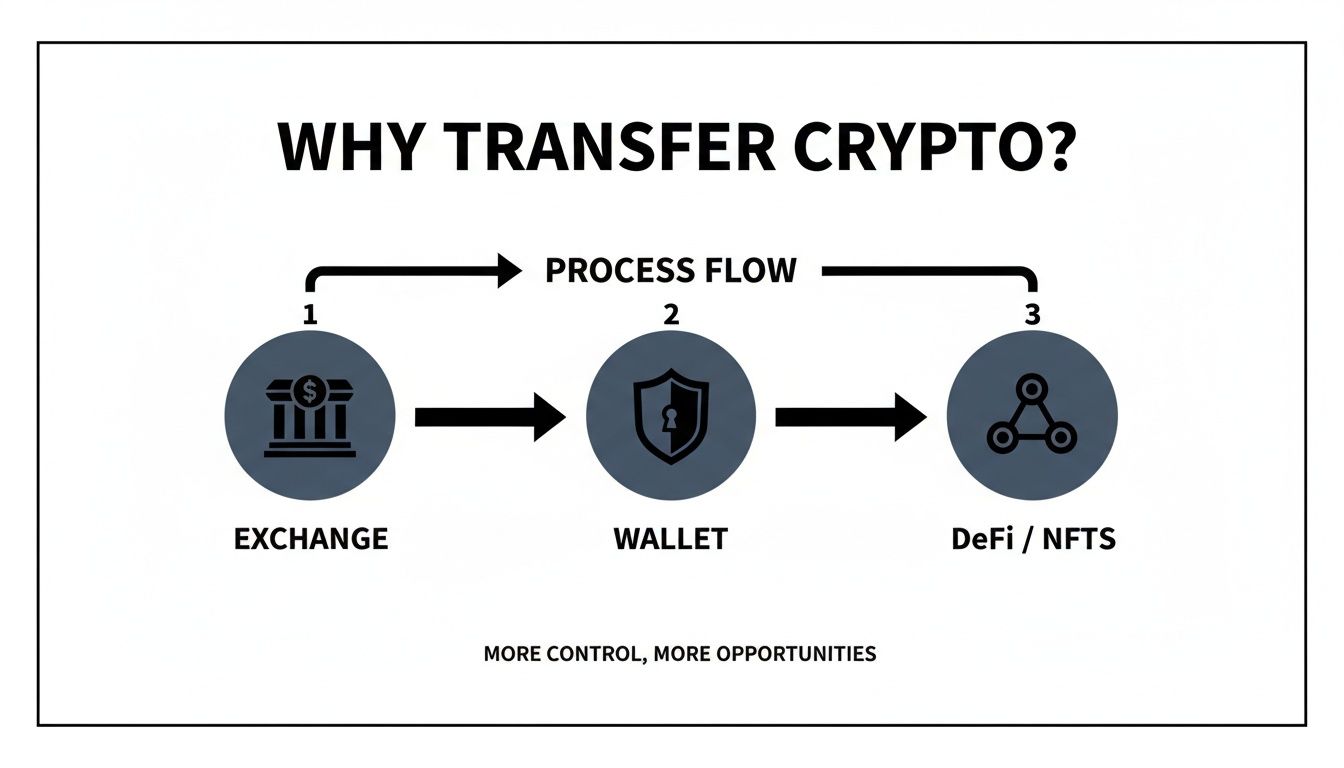
As the chart shows, this transfer is the bridge you have to cross to truly participate in the decentralized economy.
Before initiating any transfer, big or small, running through a quick safety check can save you from costly mistakes. This process should become second nature.
This simple four-step check is a small time investment that provides massive peace of mind.
With your wallet address safely copied to your clipboard, head over to Coinbase on your desktop.
The flow on the mobile app is just as intuitive.
No matter if you're on web or mobile, once you hit send, the transaction is broadcast to the blockchain. It's now out of your hands and irreversible.
Picking the right network when you transfer crypto from Coinbase to a wallet is easily the most critical decision in the whole process. Get it wrong? Your crypto could be gone forever.
It's a common misconception, but blockchains don't just naturally talk to each other. Sending an asset on one network to a wallet address on a different network is like mailing a package to an address in a country that doesn't exist. It's just... lost.
Think of networks as different highways for your crypto:
Your receiving wallet is on one of these specific highways. You must select that exact same network on Coinbase when you hit send.
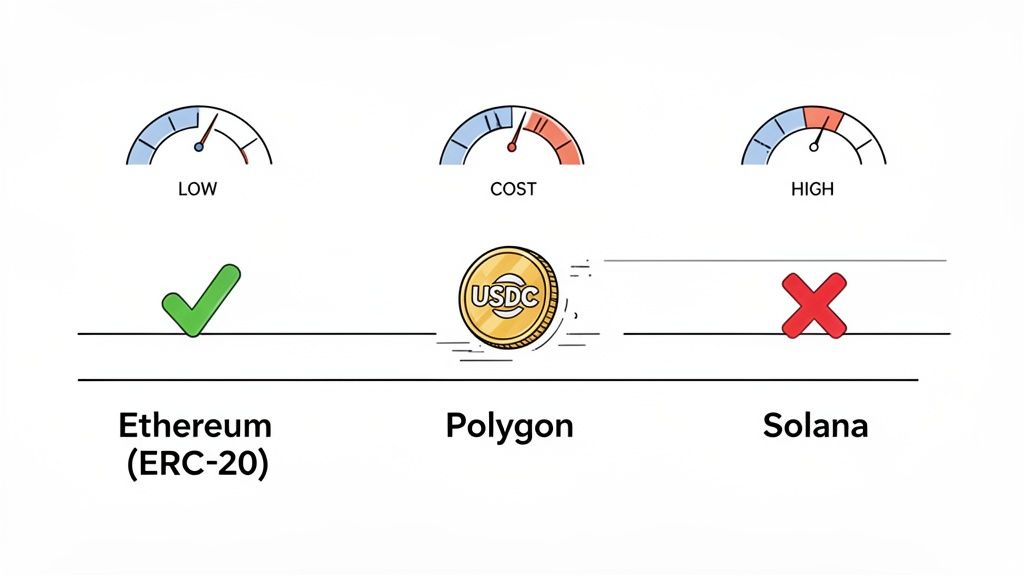
As you can see, this isn't about saving a few pennies. The network you choose can be the difference between paying a few cents or over $20 for the exact same transfer.
Let's say you want to send $100 of USDC to your MetaMask wallet to jump into a new DeFi protocol. When you go to send from Coinbase, you’ll be presented with a dropdown of network options for USDC.
The catch is that your receiving wallet has to be ready for USDC on that specific network. Sending "Ethereum USDC" to a wallet address that's only set up for the "Polygon network" is a recipe for a very bad day.
Always, always confirm your wallet is on the correct network before you even think about copying the address.
The network you choose dictates the speed, cost, and ultimate success of your transfer. A mistake here is rarely reversible. Your goal is to match the sending network on Coinbase with the receiving network in your wallet—no exceptions.
Choosing the right network is your number one weapon for crushing high fees. Here are a few practical tips to save on every single transfer:
A jaw-dropping $348 million USDC transfer from Coinbase Institutional to the main exchange is a perfect example of strategic network use. These massive moves often happen right before retail users start bridging over, chasing lower fees.
Ultimately, understanding networks turns a simple transfer into a strategic move. And if you're looking to move assets between different blockchains entirely, you can learn more about how to chain swap crypto in our detailed guide. Mastering this skill gives you the freedom to move your capital efficiently and safely across the entire crypto landscape.
The moment you hit send on a Coinbase transfer to your wallet, you become the sole guardian of your assets. This is a huge responsibility, and it’s why building a security-first mindset is non-negotiable. Safe habits need to become automatic reflexes to protect your crypto from the constant threats out there.
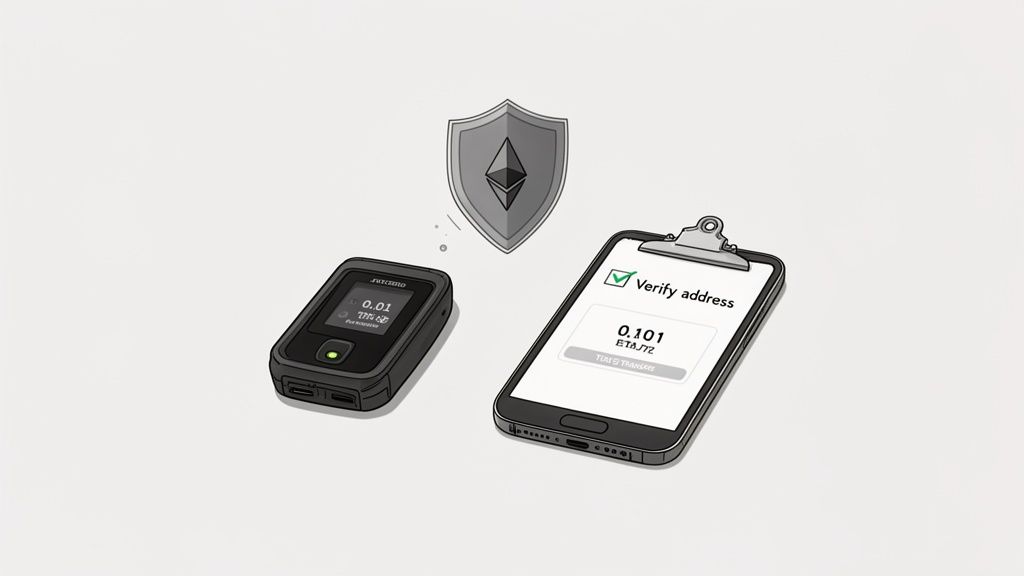
Here's the single most effective habit you can adopt right now: always send a small test transaction before moving a large amount. Think of it as paying a tiny insurance premium. Sending just $5 worth of crypto to confirm it lands safely in your wallet is a small price for the peace of mind that your larger transfer won't just disappear into the void.
Once your test transaction is confirmed, you're ready for the main event. But before you send the full amount, you absolutely must verify the wallet address manually. This is your number one defense against clipboard hijacking malware, a nasty type of software that silently swaps your real address with an attacker's when you copy and paste.
Your private keys are the ultimate authority over your crypto. A hardware wallet ensures that even if your computer is completely compromised, your funds remain untouchable. The final transaction signature happens on the physical device itself, far away from any prying eyes.
Coinbase gives you a few powerful tools to add extra layers of security to your withdrawals. One of the best is address whitelisting, which they call an "address book." When you enable this feature, you can restrict withdrawals to only pre-approved, vetted addresses.
This means that even if a hacker somehow gets into your account, they can't drain your funds to their own wallet. Coinbase adds a 48-hour hold period after a new address is added, giving you a critical window to spot and shut down any funny business.
Making these habits second nature—test sends, manual address checks, and using platform security features—is what turns you from a passive crypto holder into a proactive defender of your own wealth. For a deeper dive into the platform's security architecture, check out our breakdown of how secure the Coinbase Wallet is and the measures they have in place to protect you.
Moving your crypto from Coinbase to a personal wallet is more than just a security step—it's a breadcrumb. For sharp traders, these transfers are a goldmine of market intelligence. Every single transaction is a public data point, and big moves tell a story.
When you see massive outflows from an exchange like Coinbase, it’s often a sign that smart money is accumulating. They’re not selling; they’re getting ready. This isn’t just some abstract theory; it's an edge you can actually use. By watching these transfers, you can get a read on market sentiment before it shows up in the price.
The real skill is turning that raw blockchain data into something you can trade on. When a bunch of fresh wallets suddenly get funded with a ton of crypto from Coinbase, that’s a signal you need to pay attention to.
Is a whale preparing to ape into a new project? Are new, deep-pocketed players taking a position? This is where specialized on-chain tools become essential, helping you cut through the noise and spot the moves that matter.
A huge transfer from an exchange to a private wallet is one of the purest bullish signals you'll ever find. It’s a sign of real conviction. Someone is pulling their assets into self-custody to either hold for the long haul or deploy into DeFi—they're not gearing up to sell.
The sheer volume of this data is staggering, thanks to Coinbase's insane growth. The platform shot up from 1.3 million monthly transacting users in Q2 2020 to 8.7 million by Q2 2025—a massive 570% increase. This boom sent their transaction revenue from $463 million in 2019 to $6.84 billion in 2021. For on-chain analysts and memecoin hunters, every transfer is a clue. You can dig into more of these growth stats over at Backlinko.
Let’s be real: trying to track all these wallets by hand is impossible. You’ll burn out. The smart play is to automate your intel gathering with a tool that does the heavy lifting for you.
Platforms like Wallet Finder.ai are built for exactly this. They let you find and follow the most profitable traders out there, so you can see what they're doing in real-time.
Instead of hunting for clues, you can set up instant alerts for when a wallet you're watching gets a deposit from Coinbase or makes a trade. This lets you mirror their moves almost immediately, piggybacking on their research without having to do it all yourself.
Take a look at how Wallet Finder.ai shows you the top-performing wallets, breaking down their profits, win rates, and most recent trades.
By diving into this data, you can quickly spot the consistently profitable traders, throw them on a watchlist, and get automated alerts on their every move.
Here’s how you can turn this into actual trading strategies:
This whole approach closes the loop. You’re no longer just moving crypto around; you’re using the data from those movements to make your next decision. The public blockchain transforms from a boring ledger into your own personal market intelligence feed.
Even when you've done everything right, a few "what-if" scenarios can creep in and cause some anxiety when you're moving funds. Let's tackle the most common questions head-on so you can send your crypto with total confidence.
This is the classic "it depends" answer, but it really boils down to two things: the crypto you're sending and how busy its network is at that moment. There's no single magic number, but here's a general idea of what to expect.
The good news is Coinbase gives you an estimated completion time on the final confirmation screen. If you're impatient, you can also copy the transaction ID (TxID) they provide and paste it into a block explorer like Etherscan for Ethereum or Solscan for Solana to watch it happen live.
This is probably the most common—and most painful—mistake in crypto. Sending a token to the wrong network, like sending an ERC-20 token from Coinbase to a Solana address, is a recipe for disaster. In almost every case, those funds are gone forever.
Think of blockchains as totally separate, incompatible railway systems. If you put your cargo on the train headed for New York but it's on the track to Los Angeles, there's no way to switch tracks mid-journey.
Crucial Takeaway: Recovery is almost never an option. This is exactly why you have to triple-check that the network you select on Coinbase is a perfect match for the network your receiving wallet is on.
The short answer is no. Once a transaction is broadcast and confirmed on the blockchain, it's completely irreversible. This isn't a bug; it's a core feature of how crypto works. There's no central bank to call or "undo" button to click.
This immutability is what gives crypto its power, but it also puts all the responsibility squarely on your shoulders. You are the final check. Make absolutely sure the address, network, and amount are correct before you hit that final confirmation. There are no do-overs.
This is a common point of confusion. Memos (also called destination tags) are almost always required when you're sending certain assets to a centralized exchange, not from one to your own wallet.
Assets like Ripple (XRP) or Stellar (XLM) use these tags because the exchange uses one giant wallet for all its users. The memo is what tells them, "Hey, this deposit belongs to user #12345."
But when you complete a Coinbase transfer to a wallet you control (like MetaMask or a Ledger), you generally do not need a memo. The wallet address is uniquely yours, so no extra identifier is necessary.
Ready to turn on-chain data into your trading edge? Wallet Finder.ai helps you discover and track the most profitable wallets, so you can mirror their strategies in real time. Start your 7-day trial and see what the smart money is doing. Find your next winning trade at https://www.walletfinder.ai.

A premier DeFi analytics platform empowering traders to discover and analyze profitable blockchain wallets, trades and tokens.

